Over the last couple of months I’ve had a little exposure to hardware hacking and wearables after lending some of my exceptionally rusty 1990s-era C to Jo’s excellent Christmas Jumper project.
The project was compiled for the AdaFruit Feather Huzzah a low powered, ESP8266 SOC, Arduino compatible, gumstick sized development board. Other than a handful of RaspberryPi’s here and there, I’d never done any hardware hacking before, so it had that wonderful sheen of new and exciting we all crave.
“It’s just C!” I figured, opening the Arduino IDE for the first time.
And it was, just C. And I forgot how much “just C” is a pain – especially with a threadbare IDE.
I like syntax checking. I like refactoring. I like nice things.
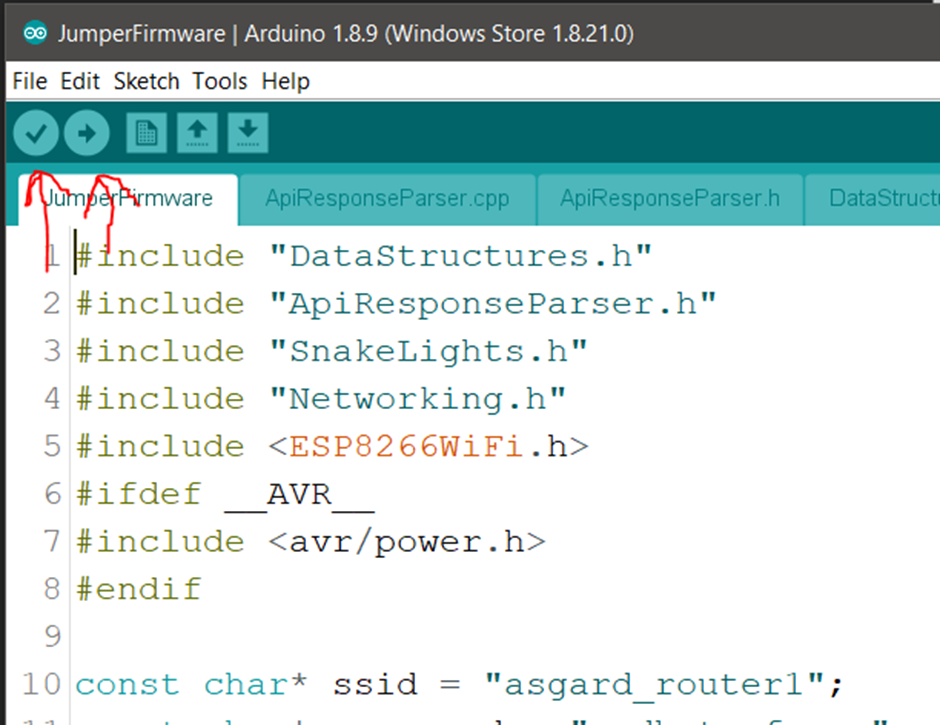
The Arduino IDE, while functional, was not a nice thing.
It only really has two buttons – compile, and “push”. And it’s S L O W.

That’s it.
I Need Better Tools for This
I went on a small mission to get better C tools that also worked with the Arduino, as my workflow had devolved into moving back and forth between Visual Studio for syntax highlighting, and Arduino IDE for verification.
I stumbled across Visual Micros “Arduino IDE for Visual Studio” which was mostly good, if occasionally flaky, and had a slightly awkward and broken debugging experience. Still – light-years ahead of what I was using. There’s also an open source and free VSCode extension which captures much of the same functionality (though sadly I was missing my ReSharper C++ refactorings).
We stumbled forwards with my loose and ageing grasp of C, Google and got the thing done.
But there had to be a better way. Something less archaic and painful.
Can I Run C#?
How about we just don’t do C?
I know, obvious.
I took to Google to work out what the current state of the art was for C# and IoT, remembering a bit of a fuss made a few years ago during the NETCORE initial prototypes of IoT compatibility.
Windows 10 IOT Core seems steeped in controversy and potential abandonment in the face of NETCOREs cross platform sensibilities, so I moved swiftly onwards.
Thinking back a decade, I remembered a fuss made about the .NET MicroFramework based on Windows CE, and that drove me to a comparatively new project .NET NanoFramework – a reimplementation and cut down version of the CLR designed for IOT devices.
I read the docs and went to flash the NanoFramework runtime onto my AdaFruit Feather Huzzah. I’d flashed this thing hundreds of times by now.
And every time, it failed to connect.
One Last Huzzah
As it transpired, the AdaFruit Feather Huzzah that was listed as supported (£19.82, Amazon), wasn’t the device I needed, I instead needed the beefier AdaFruit Feather Huzzah32 (£21.52, Amazon). Of course.
Turns out the Huzzah had a bigger sibling with more memory and more CPU based on the ESP32 chip. And that’s what nanoFramework targeted.
No problem, low cost, ordered a couple.
Flashing a Huzzah32 to Run C#
The documentation is a little bit dense and took longer than I’d like to fumble through, so I’ll try condensing it here. Pre-Requirement: Visual Studio 2019+, Any SKU, including the free community edition.
-
Add a NuGet package source to Visual Studio
https://pkgs.dev.azure.com/nanoframework/feed/_packaging/sandbox/nuget/v3/index.json -
Add a Visual Studio Extensions feed
http://vsixgallery.com/feed/author/nanoframework/ -
Go to Tools -> Extensions and install the “nanoFramework” extension.
-
Install the USB driver for the Huzzah, the SiLabs CP2104 Driver
-
Plug in your Huzzah
-
Check the virtual COM port it has been assigned in Windows Device Manager under the “Ports (COM<P)” category.
-
Run the following commands from the Package Management Console
    dotnet tool install -g nanoFirmwareFlasher
    nanoff --target ESP32_WROOM_32 --serialport YOURCOMPORTHERE –update
That’s it, reset the board, you’re ready to go.
The entire process took less than 5 minutes, and if you’ve already used an ESP32, or the previous Huzzah, you’ll already have the USB drivers installed.
Hello World
You can now create a new nanoFramework project from your File -> New Project menu.
I used this program, though obviously you can write everything in your static void main if that’s your jam.
public class Program
{
      public const int DefaultDelay = 1000;

      public static void Main() => new Program().Run();
      public Program()
      {
            Console.WriteLine("Constructors are awesome.");
      }

      public void Run()
      {
            while (true)
            {
                  Console.WriteLine("ArduinYo!");
                  Thread.Sleep(DefaultDelay);
            }
      }
}
The brilliant, life affirming, beautiful thing about this, is you can just press F5, and within a second your code will be running on the hardware. No long compile and upload times. Everything just works like any other program, and it’s a revelation.
NanoFramework has C# bindings for much of the hardware you need to use, and extensive documentation for anything you need to write yourself using GPIO (General Purpose IO – the hardware connections on the board you can soldier other components to, or add Arduino shields to).
But It’s 2020 Isn’t Everything JavaScript Now?
Alright fine. If you want a slightly worse debugging experience, but slightly wider array of supported hardware, there’s another project, Espruino.
Somehow, while their API documentation is excellent, it’s a little obtuse to find information about running Espruino on the ESP32 – but they both work and are community supported.
The process of flashing is slightly more obtuse than in .NET land, but let’s skip to the good bit
-
Make sure you have a version of python installed and in your path
-
At a command prompt or terminal, using pip (which is installed with python), run the command
pip install esptool -
Download the latest binaries for the board from here or for subsequent versions, via the download page
You need all three files for your first flash.
-
From a command prompt, in the same directory as your downloaded files
esptool.py --chip esp32 --port /dev/ttyUSB0 --baud 921600 --after hard_reset write_flash -z --flash_mode dio --flash_freq 40m --flash_size detect 0x1000 bootloader.bin 0x8000 partitions_espruino.bin 0x10000 espruino_esp32.bin -
Install the “Espruino IDE” from the Google Chrome app store
-
Under Settings -> Communication set the Baud Rate to 115200
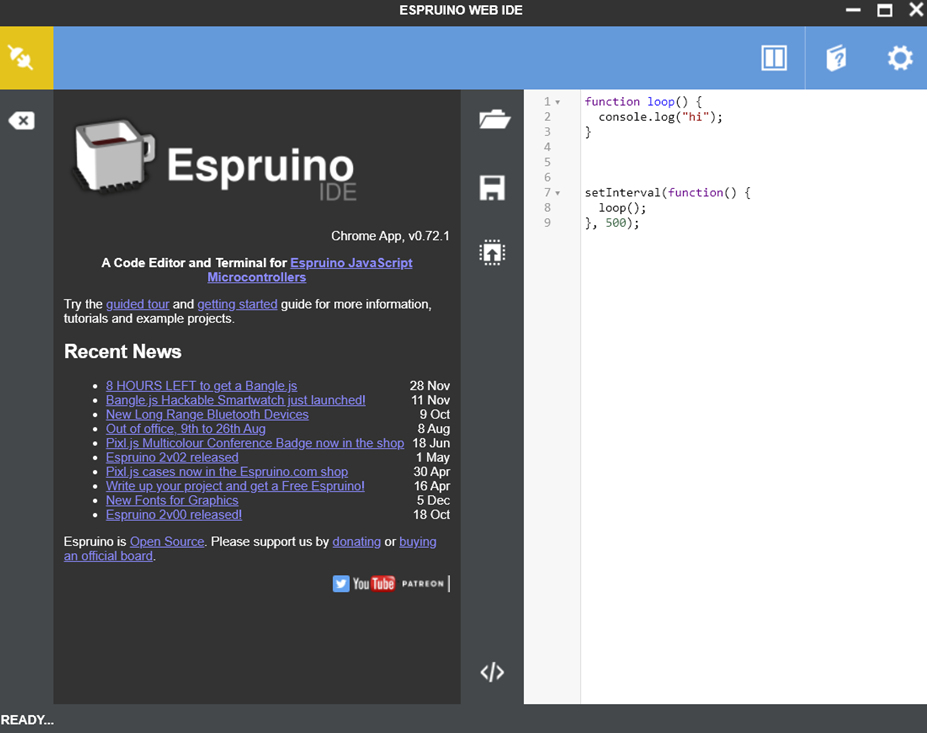
That’s it, you’re ready to go in JavaScript – just click connect and run the provided sample

What’s next?
Well, nanoFramework is nice, but I really wish I could just use NetStandard 2.0. Luckily for me, the Meadow project from Wilderness labs is just that - an implementation of NetStandard for their own ESP32 derived board. I’ve ordered a couple of them to see how the experience stacks up. Their ESP32 boards look identical to the Huzzah32s, with some extra memory and CPU horsepower, presumably to accommodate the weight of the framework.
They are twice the cost currently at £50 vs the £20 for the Huzzah32, but if they deliver on the flexibility of full .NET, I’d imagine it’ll be the best possible environment for this kind of development if you’re willing to use or learn C#.
In JavaScript land? Well, JavaScript is nice, but TypeScript is better! Espruino don’t directly support a lot of ES6+ features, or TypeScript, but with a little bit of magic, their command line tooling, and Babel, we can use modern JavaScript now, on those devices (I’ll leave this to a subsequent post).
C is wonderful, but “even” hobbyist programmers should have good toolchains for their work <3